Step by step · day one
Setting up Starlink with the old service still on
From the box to every device back online, in the order that avoids drilling twice or losing a day of internet.
Answer first · current to
Set Starlink up while your old internet still works: get the Starlink app, find the spot with the most open sky, try the dish there on its kickstand, plug it in, join its Wi-Fi and follow the app. Pick a spot with open sky, plug in, and the dish finds satellites in a few minutes; current kits don't point themselves, so you rotate the dish the way the Starlink app's alignment screen tells you.
Leave the old service connected through all of this. Drill nothing and cancel nothing until Starlink has done well on a few busy evenings; the old line is your fallback until then.
- Get the appbefore delivery
- Unboxcheck the parts
- Find open skyroof or yard
- Kickstand testno drilling yet
- Plug in, connectapp setup
- Align the dishby hand
- Old Wi-Fi namedevices reconnect
- Evening testsseveral days
How to set up Starlink, step by step
Get the Starlink app before the box arrives
5 minutesStarlink's order confirmation tells buyers to download the Starlink app before the kit arrives to make sure trees, poles and other obstructions won't interrupt service. Put it on the phone you’ll carry around the house and yard.
Starlink says the Starlink app helps you pick an install spot and check for obstructions that could interfere with service. Its help center doesn’t walk through that check screen by screen, so follow the prompts in the app.
Unbox and check the parts
5 minutesWhich kit you get depends on your plan and address. Starlink's US order list carries three home kits: the Standard 4 X, the Standard 4 and the V5. Starlink lists what’s in two of them:
- Standard 4 X kit: the Starlink dish, a kickstand, a Router 3 Wi-Fi router, a 15 m (49.2 ft) Starlink cable, a power supply and an AC power cable.
- Starlink V5 kit: the Starlink V5 dish, a kickstand, a pipe adapter mount, a Router Mini with stand, a power supply, a 15 m (49.2 ft) Starlink cable, an AC cable and a 2 m Ethernet cable.
Simplified drawing, not to scale. Your kit’s parts depend on the model; the printed guide in the box shows how they connect. Keep the box and packing for now. If Starlink turns out not to work at your home, you’ll need them to send it back.
Find the spot with the most open sky
15 minutesStarlink says the dish has to see open sky to keep its link as satellites pass over, and that one branch, pole or roof edge can cut service. The dish looks up at a wide patch of sky, not at one point like an old satellite dish: Starlink’s spec sheets list a 110° field of view. The good news: Starlink wants as much open sky as it can get, though a dish with part of its view blocked often still works.
Starlink needs a wide patch of open sky above the dish. A spot that looks fine at eye level can still have most of that sky hidden behind a wall or branches. - Try the highest open spots first: a roof peak, or the middle of an open yard, away from walls and tall trees.
- Check each spot in the app, holding the phone where the dish would sit.
- Think about summer. Bare branches in winter let more sky through than the same trees in full leaf.
- Mind the cable. The dish’s cable has to reach a wall socket indoors; the kit lists its length above.
Not sure your old dish spot will do? How to check it, and when a yard pole is better
Test on the kickstand before you drill anything
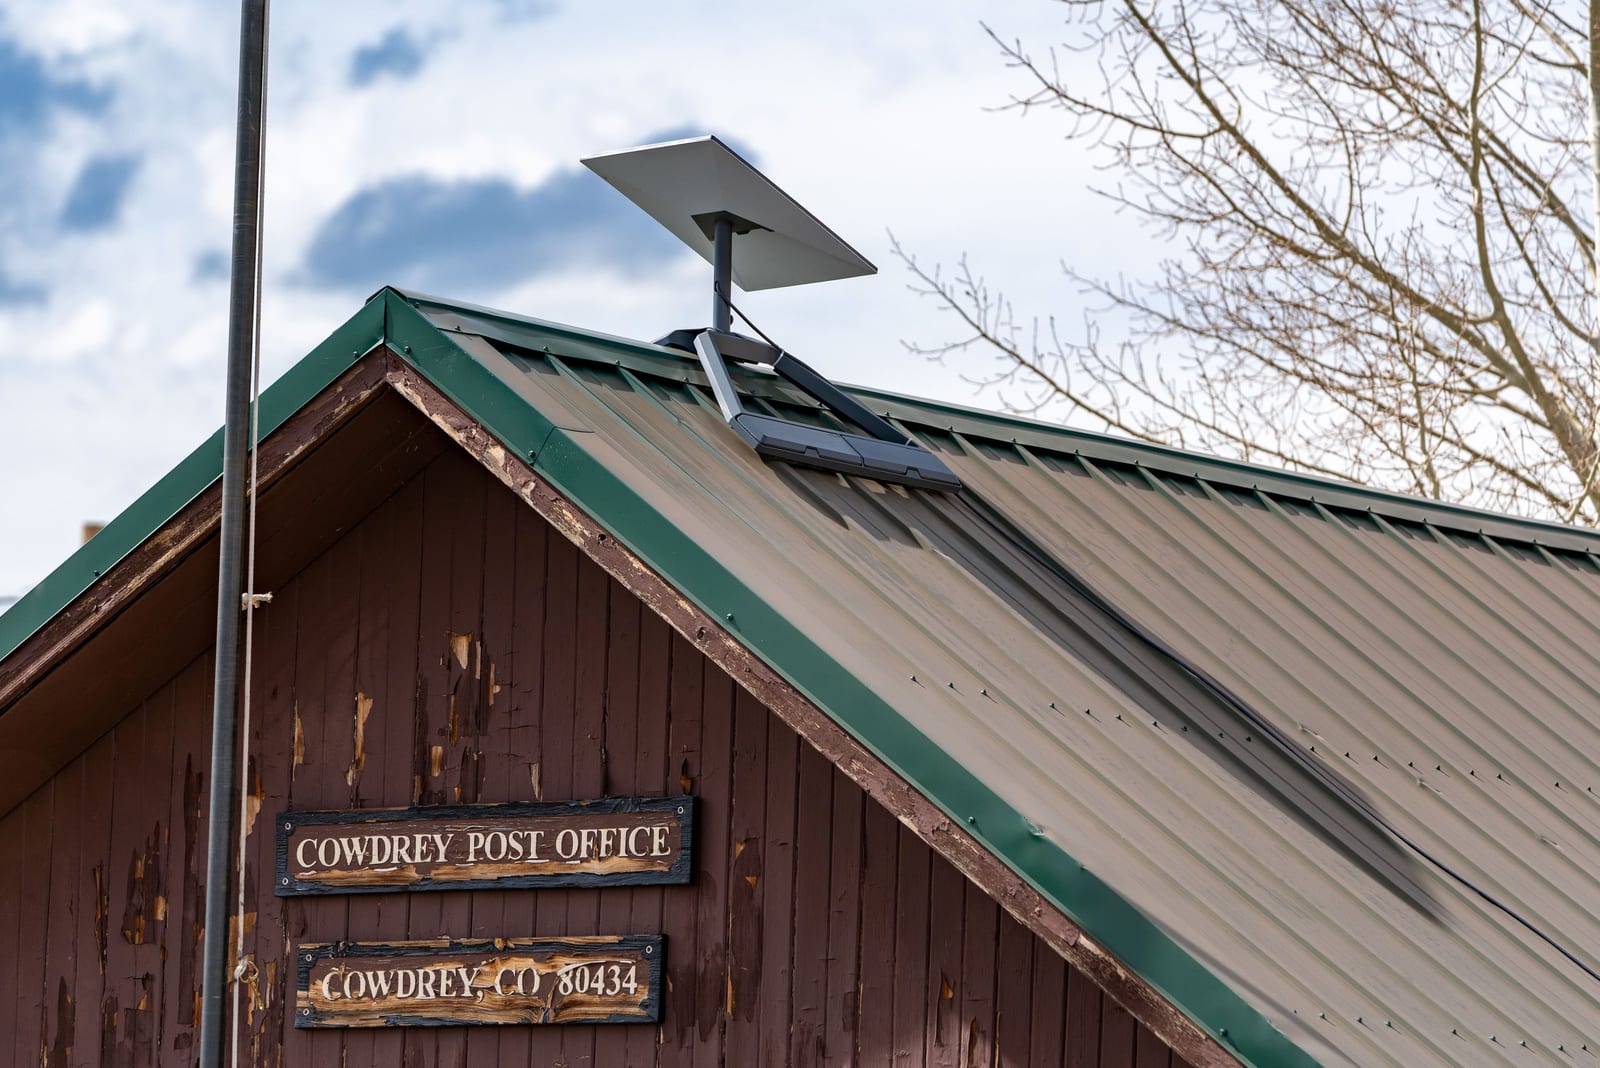
30 minutesSet the dish on its kickstand at the best spot, on the ground or a safe flat spot, and run the cable inside through a door or window gap for now. If it works well there for a few days, make it permanent. Starlink sells a range of mounts in its online shop (once your kit is ready to ship), and the Standard kit comes with a detachable kickstand for quick setup or a permanent install.
Thinking of reusing your old dish mount? Check first:
- HughesNet: the outdoor antenna (dish), its mount and the cables don't have to go back, so the mount is yours to reuse or take down.
- Viasat: Viasat's pages disagree on the dish: the agreement charges only for the modem, transceiver, power adapter and Stream hub, but the FAQ says the dish, mount and cables also need to be returned. Ask Viasat before you take parts off or reuse them.
- The fit: old mounts were set up for a dish aimed low at the southern sky, and they may not sit where Starlink sees the most sky. Use a Starlink mount or adapter made for your kit model, and seal any old bolt holes you stop using.
Prefer someone else on the ladder? Professional installs can add fees for travel, home type, long cables or trenching.
Plug it in
5 minutesConnect the dish’s cable to the indoor equipment the way the printed guide in your box shows, then plug the power supply into a wall socket. The router and power supply stay indoors; only the dish and its cable go outside.
Plugging in starts the clock: your billing cycle starts on the day the kit is first activated, and service switches itself on 7 days after delivery if you haven't activated it by then.
Join the Starlink Wi-Fi and open the app
5 minutesOn your phone, join the new Starlink Wi-Fi network, open the Starlink app and follow its setup. You name the Wi-Fi network and set its password in the Starlink app (Settings → Router → Networks), and the network has no password until you set one, so set a password straight away.
Turn the dish with the app’s alignment tool
10 minutesToday’s home dishes don’t point themselves. The Starlink app shows a "Starlink Misaligned" alert when the dish is at least 5° off, and its alignment tool shows which way to turn it. Turn the dish slowly, give the app a moment to update after each move, and stop when the alert is gone.
Then give it a day: once installed, Starlink maps the obstructions around it, mostly within a day, and routes around them better as the map fills in.
Give the Wi-Fi your old network’s name and password
5 minutesPhones, TVs, printers and smart plugs remember the network they were set up on. If the Starlink Wi-Fi uses exactly the same name and password as your old one (capital letters count), most of them reconnect on their own, with no retyping.
Give the new Wi-Fi the old name and password and most devices reconnect on their own. - Rename the old router’s Wi-Fi first (for example, add “-old” to the name), so two networks don’t share one name.
- In the Starlink app, give the Starlink Wi-Fi the old name and password.
- Wait a few minutes and check your devices. A few older gadgets may need setting up again.
To fall back on the old service during your tests, swap the names back.
Or keep your own router or mesh
10 minutesCan you keep the router or mesh system you already have? Yes: you can use your own router or mesh system; on a Standard kit you run Ethernet to your router's WAN port and turn on bypass mode if your router should run the Wi-Fi (older Standard Actuated kits need Starlink's Ethernet Adapter).
Be careful with bypass mode: bypass mode turns off the Starlink router's Wi-Fi so your own router runs the network; you switch it on in the app, and only a factory reset turns it off.
If you game online or reach home cameras from outside the house: Residential gets IPv4 through CGNAT, so no public IPv4 address and no inbound IPv4 connections (a public IPv4 is offered only on Local and Global Priority plans), while native IPv6 works on every plan.
Test at the busy hour, several evenings
3 to 5 eveningsStarlink’s peak hours are 6 pm to 11 pm local time. Test then, on both services, with the same device in the same room, on several days. Try what you actually do: a video call, a show, an upload, a game.
Home internet is busiest in the evening, when most households are online. A test at 3 am can look much better than what you get at dinner time. Write the results down. They’re how you decide, with numbers rather than a hunch, whether to switch for good.
Does Starlink work in rain, snow and wind?
The dish is built for the outdoors. Per Starlink’s spec sheet, it’s rated IP67 (Type 4), works from −30 °C to 50 °C (−22 °F to 122 °F) and melts up to 40 mm (about 1.5 in) of snow an hour.
- Rain and storms: a downpour, heavy snow or hail may drop the connection for a short spell, and service should return when the weather clears.
- Snow: mount the dish where snow can slide off and drifts can’t bury it, and leave the melting to the dish.
- Covers: don't put a cover over the dish: Starlink says it hurts performance and snow melting.
If something isn’t working
- No connection after a few minutes: check each cable end is pushed all the way in, then follow the app’s alerts.
- “Starlink Misaligned”: turn the dish again with the alignment tool, slowly.
- Short dropouts: something is likely in the way. Look at what the app shows about obstructions, and try a higher or more open spot before you mount anything.
- Still stuck: support runs through the Starlink app (Support → Messages) or your starlink.com account (Messages → New Ticket), 24/7.
After day one: phone number, cancel, return
Once Starlink has done well on several evenings, finish the switch in this order:
- Move your phone number first, if you have a landline or a phone service from your internet provider. The FCC’s advice: keep your old phone service until the new company has started moving your number. HughesNet customers, note that cancelling Hughesnet internet also cancels Hughesnet Voice, and both termination fees can apply. The safe order
- Cancel the old internet once the number works on the new service. Cancel HughesNet · Cancel Viasat
- Send back the old equipment before the provider’s deadline, with photos of every part. Deadlines by provider
What switchers ask
How long does it take to set up Starlink?
Pick a spot with open sky, plug in, and the dish finds satellites in a few minutes; current kits don't point themselves, so you rotate the dish the way the Starlink app's alignment screen tells you. Finding the best spot and testing it on the kickstand usually takes longer than the plugging in.
Can I put the Starlink dish on the ground?
Yes, on its kickstand, as long as it sees enough sky. Starlink wants as much open sky as it can get, though a dish with part of its view blocked often still works. Spots on the ground are often hemmed in by the house, fences and trees, so check them in the app first.
Will my own router still work behind Starlink?
Yes: you can use your own router or mesh system; on a Standard kit you run Ethernet to your router's WAN port and turn on bypass mode if your router should run the Wi-Fi (older Standard Actuated kits need Starlink's Ethernet Adapter).
Does Starlink work in rain and snow?
Mostly yes: a downpour, heavy snow or hail may drop the connection for a short spell, and service should return when the weather clears. Per Starlink’s spec sheet, the dish is rated IP67 (Type 4), works from −30 °C to 50 °C (−22 °F to 122 °F) and melts up to 40 mm (about 1.5 in) of snow an hour.
Can I reuse my HughesNet or Viasat mount for Starlink?
Sometimes. It has to sit where Starlink sees the most sky, it needs the right Starlink mount or adapter, and Viasat may ask for its parts back. How to decide
Why does the Starlink app say my dish is misaligned?
It means the dish needs turning: the Starlink app shows a "Starlink Misaligned" alert when the dish is at least 5° off, and its alignment tool shows which way to turn it. Turn it slowly and let the app update between moves.
Do I need a professional to install Starlink?
No: the kickstand needs no tools. Professional installation is offered on some orders, and professional installs can add fees for travel, home type, long cables or trenching.
Where these facts come from
We took every figure and rule on this page from the pages below; the oldest reading dates from . Terms move often, so confirm with the provider before you cancel or order.
- Contact Starlink Customer Support (Starlink help center)
- Early Termination Fees and Other Important Terms (customers who subscribed on or after July 8, 2025)
- Home Satellite Internet FAQ
- How does the monthly service billing cycle work? (Starlink help center)
- Hughesnet Voice Service Addendum
- Porting: Keeping Your Phone Number When You Change Providers
- Standard 4 X spec sheet (PDF)
- Starlink app listing, Apple App Store
- Starlink setup guide, Standard 4 X
- Starlink setup guide, V5
- Starlink support: aligning the dish
- Starlink support: do you need a mount
- Starlink support: first-time setup
- Starlink support: installers
- Starlink support: IP addresses
- Starlink support: obstruction check before install
- Starlink support: reading the obstruction map
- Starlink support: snow, rain, wind and heat
- Starlink support: using your own router
- Starlink support: weather and service
- Starlink support: Wi-Fi name and password
- Starlink terms of service (US)
- starlink.com order-confirmation screen text (our reading, no order placed)
- Starlink's US Residential price list (no address, no referral)
- What is bypass mode? (Starlink help center)
- Why are my speeds slow outside or during peak hours? (Starlink help center)
Checking method: each price, fee and rule here links to the provider’s or regulator’s own page, dated the day we read it. No internet provider pays for a place on this site; the only income is the Starlink referral explained on our money page. Our fact-checking · How we make money · Corrections